7 Tips for Choosing the Right Metal Cutting Blade
Choosing the right Metal Cutting Blade is not simply a matter of picking the toughest-looking option. The blade must suit the material, its thickness, and the cutting machine. A mismatch can leave rough edges, slow the cut, or wear teeth sooner than expected. Small details matter.
The seven tips in this guide focus on practical choices: blade material, tooth pitch, diameter, speed, machine compatibility, cut quality, and expected blade life. For example, a thin-walled tube may need a finer tooth pitch than a thick steel bar. Check the machine manual and blade manufacturer’s specifications before choosing; ratings and limits vary between products. A test cut on suitable scrap can also reveal vibration, excess heat, or a finish that needs improvement.
There is no universal winner. Even a careful choice may need adjustment when the material or setup changes. That part is easy to overlook. Rather than relying on a single feature or a broad product label, compare the blade’s specifications with the job in front of you. These tips offer a clear starting point, while leaving room for the real-world details that charts cannot fully capture.
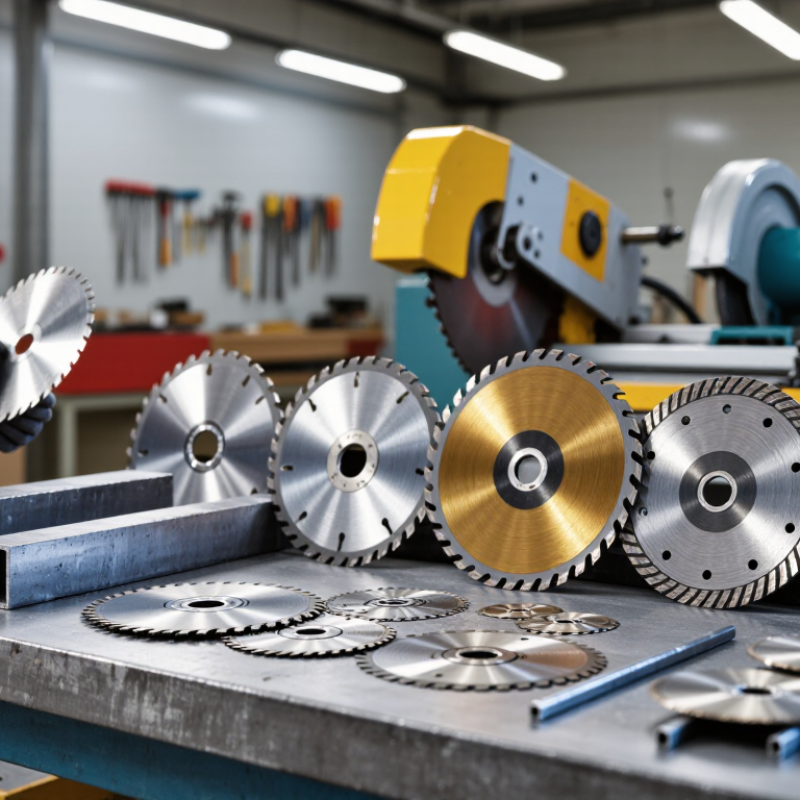
Identify the Metal and Its Thickness
Identify the metal before choosing a blade: carbon steel, stainless steel, and aluminum cut differently. Their hardness, toughness, and heat response affect tooth wear and cutting speed. ASM Handbook material-property tables show why a metal’s name alone is not enough: alloys within the same family can have different properties. ASTM A36 steel, for example, has a minimum yield strength of 250 MPa, while 6061-T6 aluminum’s specified strength depends on product form and thickness. Check the grade or mill certificate when available. Guessing from color is unreliable.
Measure the workpiece at its thickest point, including coatings or joined layers. A thin sheet needs fine teeth so several teeth stay engaged; a thick bar usually needs coarser teeth to clear chips. Too few teeth can snag thin stock. Too many can pack with chips in thick material. The blade maker’s tooth-pitch chart is a useful starting point, not a guarantee. That distinction matters.
A practical shop-floor check is to mark the metal, measure it with calipers, and inspect a clean edge for plating or mixed layers. Then match the blade material and tooth pitch to both the alloy and thickness. Stainless steel often needs a blade suited to tougher alloys; aluminum generally benefits from sharp teeth and clear chip space. I would still test on a short offcut. One small trial can reveal vibration, heating, or rough edges before the full cut. Sources: ASM Handbook, Volume 1, Properties and Selection: Irons, Steels, and High-Performance Alloys; ASTM A36/A36M.
Match Blade Material and Cutting Application
Choosing a metal-cutting blade starts with the workpiece, not the machine’s maximum speed. High-speed steel suits general-purpose cuts in thinner stock; carbide-tipped blades often last longer in repeated or harder cutting. These are tendencies, not guarantees. Heat matters. Stainless steel can work-harden when a blade rubs instead of cutting, so use a suitable tooth count, steady feed, and the speed recommended for the blade and saw. For aluminum, choose geometry intended for nonferrous metal to help clear soft, sticky chips. Packed teeth can mark the edge or bind.
Match tooth pitch to material thickness. Thin-wall tubing usually needs finer teeth so several stay engaged; thick bar can benefit from coarser teeth that clear chips. Check the blade’s stated material range, diameter, arbor fit, and maximum RPM before mounting it. Keep the work clamped, and use compatible coolant or cutting fluid when the setup calls for it. Listen and look. Blue chips, heavy vibration, or rising cutting effort can signal excess heat, a dull edge, or poor feed. I would not treat any chart as exact: alloy, section shape, and machine rigidity change the result. A short test cut may reveal a mismatch before it ruins a full length of stock.
7 Tips for Choosing the Right Metal Cutting Blade
Match blade material and cutting application. A useful starting point for band-saw blade selection is the number of teeth per inch (TPI) matched to the workpiece thickness.
How to use this chart: Thin-walled stock generally needs a finer tooth pitch to reduce tooth grabbing; thicker solid stock usually calls for a coarser pitch. These are typical starting ranges—check the blade and saw manufacturers’ guidance for your material, blade width, and cutting conditions.
Choose the Right Tooth Count and Blade Design
Tooth count controls chip size, cutting pressure, and finish.
A useful starting rule for band sawing is to keep about three to six teeth engaged in the workpiece. Thin-wall tubing usually needs a finer pitch; thick solid bar can use a coarser pitch. Too few teeth? They may snag and strip. Too many can rub instead of clearing chips. The ASM Handbook, Volume 16: Machining, discusses how tool geometry and cutting conditions affect machining performance, supporting a practical approach: match pitch to the actual cut, not just the metal name.
Tip: Check the stock’s wall thickness and shape before choosing a blade. World Steel Association’s World Steel in Figures 2024 reports 1,892.2 million tonnes of crude steel production in 2023. That broad production figure reflects the range of steel products being cut; it does not point to one universal blade pitch. For bundled pieces or mixed profiles, a variable-pitch design can help reduce repetitive vibration. A positive rake can improve cutting action on suitable materials, while a more cautious tooth form may help control grabbing. The chart is only a starting point.
After fitting the blade, watch the first cut. Long, even chips are a useful sign; fine dust or heavy vibration calls for a check of pitch, feed, and tension. Small details matter. A blade that suits a solid bar may behave poorly on thin tubing, even when both pieces are steel.
Check Blade Size, Speed, and Tool Compatibility
Before buying a metal-cutting blade, match its diameter to the tool’s stated capacity. Check the arbor size too; a blade that fits loosely or needs an improvised adapter is not a safe match. Small mismatch, big problem. Also compare the blade’s intended material with your workpiece, such as steel tubing or thin sheet metal.
Speed matters just as much. Find the tool’s maximum no-load RPM and compare it with the blade’s rated maximum speed. The blade rating must meet or exceed the tool speed. For a variable-speed tool, stay within the blade’s limits. Never assume a lower setting will make an incompatible blade suitable. Check the tool manual if its specifications are unclear.
With the tool unplugged, confirm the blade sits flat and the guard can move freely. A blade that crowds the guard or leaves too little clearance may not be compatible, even if its arbor fits. In practice, it is easy to focus on diameter and overlook the guard. I would check both before cutting. Consider the cut, too: a thick blade may remove more material, while a thin sheet can vibrate if it is poorly supported. Secure the workpiece, and let the tool’s instructions guide setup and operation.
7 Tips for Choosing the Right Metal Cutting Blade — Check Blade Size, Speed, and Tool Compatibility
| Tip |
What to Check |
How to Choose |
Practical Guidance |
| 1 |
Match the blade diameter |
Choose the diameter specified for the saw. The blade must fit beneath the guard and within the tool’s cutting capacity. |
Check the saw manual or its existing blade before buying. Do not fit an oversized blade or remove or alter the guard to make one fit. |
| 2 |
Verify the arbor and mounting |
The blade’s arbor hole and mounting arrangement must match the saw’s spindle and any required flanges. |
Confirm the arbor size and fit in the tool documentation. Use only manufacturer-approved adapters, if permitted; never force a blade onto the spindle. |
| 3 |
Check the speed rating |
The blade’s maximum rated RPM must be at least as high as the tool’s maximum no-load RPM. |
Compare the ratings printed on the blade and specified for the tool. Never exceed the blade’s maximum speed or assume a larger blade is safe at the same RPM. |
| 4 |
Match the blade to the metal |
Select a blade specifically rated for the workpiece, such as ferrous steel, stainless steel, or non-ferrous metals like aluminum. |
Check the blade’s stated material and application. A blade intended for wood or general-purpose cutting is not automatically suitable for metal. |
| 5 |
Choose a suitable tooth count |
Tooth count affects cutting behavior. The right choice depends on blade diameter, material, and the thickness or shape of the stock. |
Use the blade maker’s recommendations for the specific material and cut. Avoid choosing by tooth count alone; tooth geometry and blade design also matter. |
| 6 |
Confirm kerf and cutting capacity |
Kerf is the width of material removed by the cut. The blade’s kerf and cutting depth must be compatible with the saw and the job. |
Check the blade specifications and tool manual, especially for required blade thickness, cutting depth, and clearance. Make sure the workpiece is within the saw’s capacity. |
| 7 |
Confirm tool compatibility and safe use |
The blade must be approved for the tool type and cutting method, including any required guard, flange, or blade direction. |
Follow both the saw and blade instructions. Secure the workpiece, keep guards in place, and use the protective equipment specified for the task. |
Always verify the blade markings and the tool manual before installation; specifications and safe operating limits vary by blade and saw.